Pages

Monday, October 17, 2016

Rhythm and Fractions


Music connects naturally with math. In fact, rhythm is math. This video models how I introduce iconic rhythm notation with fraction strips. It is designed to help teachers prepare to teach this type of lesson, but it can also be used in the classroom to prepare students to compose and perform simple patterns. If used in the classroom, pause the video to further discuss math or musical concepts and adapt to student readiness.  

“The best way to learn is through the powerful force of rhythm.“                                                                                    - Wolfgang Amadeus Mozart (1756-1791)


"Second and third grade students who were taught fractions through musical rhythms scored one hundred (100) percent higher on fractions tests than those who learned in the conventional manner."     
                         - “Rhythm Students Learn Fractions More Easily,” Neurological Research, 1999

"Students who can perform complex rhythms can also make faster and more precise 
corrections in many academic and physical situations, according to the Center for Timing, Coordination, and Motor Skills. - Rhythm seen as key to music’s evolutionary role in human intellectual development, Center for Timing, Coordination, and Motor Skills, 2000.

A ten-year study indicates that students who study music achieve higher test scores, regardless of socioeconomic background."                     - Dr. James Catterall, UCLA.


"Students who are rhythmically skilled also tend to better plan, sequence, and coordinate actions in their daily lives."    
                                     - “Cassily Column,” TCAMS Professional Resource Center, 2000

“I would teach the children music, physics and philosophy, but the most important is music, for in the patterns of the arts are the key to all learning... Music is a more potent instrument than any other for education, because rhythm and harmony find their way into the inward places of the soul.”            – Plato

Thursday, September 22, 2016

Introduction to the Elements of Music

I hope this brief overview will be helpful to teachers and students.
(View in full screen for best results.)


Here is an accompanying chart or worksheet on which students can take notes as they watch the video:

Friday, April 10, 2015

Popcorn - Beat & Body Percussion


Here's an engaging movement and music activity I recently created. It's useful and joyful in the elementary music or dance classroom as well as the regular classroom as a 'brain break' (especially on testing days).

Notes: The number of popcorn pieces on the stage floor indicate how many beats each action should be performed. "Pat' is done with hands, and 'tap' is done with finger tips. The visuals change on the last beat of the previous section/measure to allow processing time.

Integrate by helping children predict/recall the sequence of movement as well as the mathematical relationship between 16, 8, and 4 beats. Assess accuracy in performing with a steady beat. ENJOY!

The darling kids clip art was created and licensed by EduClips , and the stage background was created by EnAz. Thank you, ladies!
.


Higher resolution is available on YouTube: 

Thursday, January 8, 2015

Seasons Song

My students and I have been celebrating winter this past week with a delightful song I learned years ago in my first Kodaly certification course. I teach this tune to K-2 children (fall verse) in late September and revisit it as the seasons change, moving from a singing game and rhythm exploration to iconic notation and composition activities, depending on students' readiness. This is a great piece for discovering or reinforcing 'la.'

The children enjoy creating new lyrics for this simple but lovely melody as the seasons change. As an extension, older children enjoy switching up the solfege/rhythm cards and creating something new. 

You can click on these PNG files and print them. I will also post the full packet in PDF format in my store as a freebie. Enjoy! : ) 


 Winter Icon Cards

First-graders map the rhythm of the song.
 Second-graders map the pitch and rhythm.


Singing and signing (solfa) for real-time assessment.

 Spring Icon Cards


 Summer Icon Cards


Autumn Icon Cards


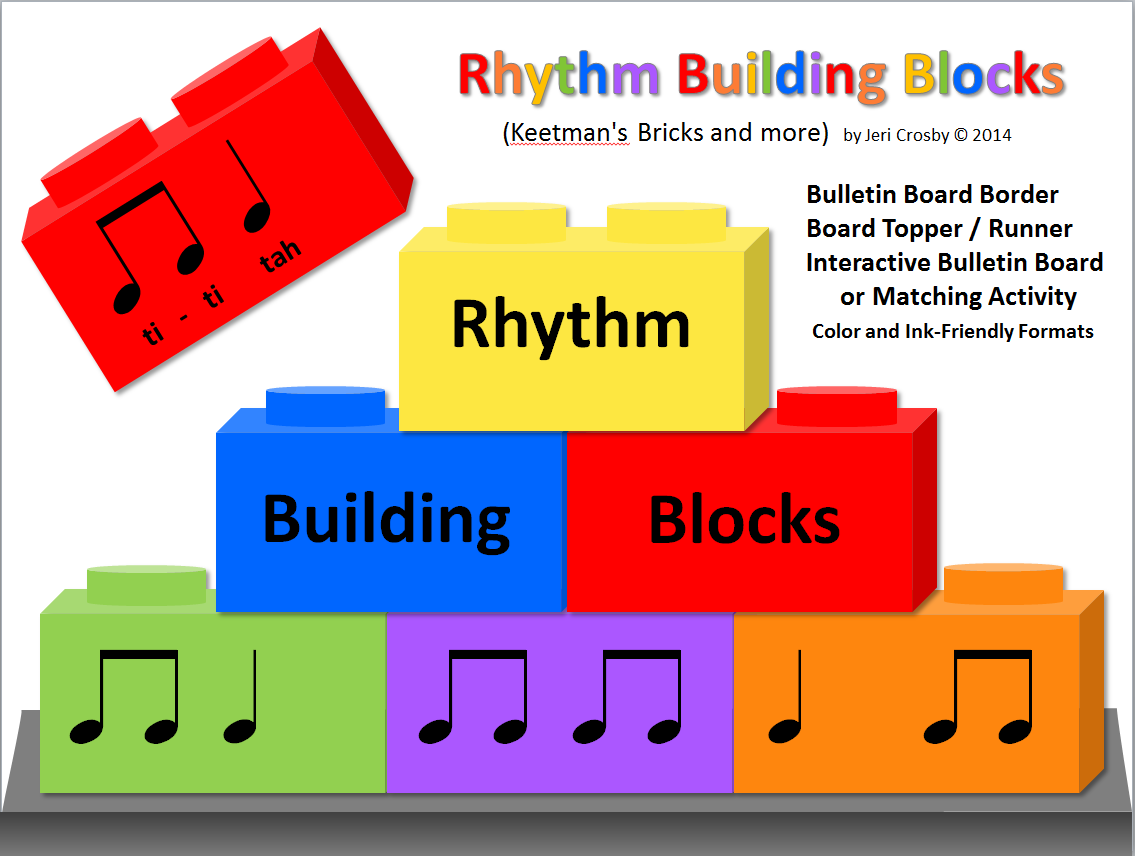
As an extension in second grade, we list words that match our rhythm building blocks and select four to create a new song as a class. Then students work in pairs to compose original (very simple) four-phrase melodies based on rhythmic text. The kids get quite excited and pleased with their creations. It's delightful to see my youngest students so engaged in meaningful music exploration!  (If you're interested, here's a link to my Rhythm Building Blocks printables, which are available in my Musical Magic TPT Store.)


Friday, January 2, 2015

'Fall-ing' in Love with Music

This fall, my students 'fell' in love with some delightful music activities. Although this post is 'post-autumn,' I want to share a few highlights for my readers who might enjoy or adapt these ideas in the future.

Text-based Compositions - Exploring Rhythm, Form, and Tonailty
In twos, students composed phrases based on Halloween- and autumn-themed text. Then a student pair (A) combined their phrase with one other team (B) to create a four-phrase song. I had them choose from these forms: ABAB, AABB, or AABA. We were able to explore rhythm/syllable relationships, D = la pentatonic (minor pentatonic: D, F, G, A, C, D') with Orff instruments, four-phrase form, and the power of collaboration. This project was engaging and easy to implement with my 3rd-5th grade kiddos. My students learned a lot and were proud of their compositions! Details of this learning project and ready-to-go materials are available in my Halloween Words & Rhythms - Literacy and Composing Activities Set.


Exploring Syllables and Rhythm with Iconic Notation
My younger students explored syllabic rhythms using autumn-themed iconic notation. I chanted simple four-beat rhythmic phrases and had students pat the beat on their laps as we repeated the words. (Phrase examples: "pumpkin pumpkin patch patch" or "witch's broom witch's broom." Then we chanted the words and touched pumpkin beats. We 'discovered' that there was one word on each beat, so next, I had students put one candy corn on each beat. Then we finger-tapped the syllables of the phrase and 'discovered' that some beats had more than one sound. And finally, students 'notated' the rhythm by placing additional candies on beats that had two sounds. This was an extension/assessment of the activities we did with my Jack Jack Jack-o-Lantern Rhythm Activities Set.


Conducting with Light Sticks
This picture doesn't look like much, but oh, it WAS! My students absolutely loved conducting classical works and movie themes in the dark, using light sticks as batons. Students were thrilled to practice 2, 3, 4, and 5-beat conducting patterns to selections composed in minor keys. (I was able to make the light sticks last for two days by keeping them in the freezer when we weren't using them.)

Hope these ideas inspire you. Thanks for stopping by!

Saturday, September 27, 2014

The 'Handy, Hands-on' Hand Staff

I love using iconic notation and manipulatives in my music lessons. When exploring pitch patterns (solfege or note addresses), the hand staff    is a powerful and ultimately convenient tool. It is always 'at hand' and provides instant 'hands-on' learning experiences. (Pardon the puns; I can't resist!)

If the hand staff is a new concept/technique to you, you can adopt it easily and quickly. Simply have students hold their left hands in front of them, palm toward body, and treat their digits as the five lines on a staff. Have students touch on lines (fingers) or in spaces (between fingers). Identify a starting point, e.g. "G on the second line is so," and touch 'notes' as you sing simple pitch patterns. You might also find it useful to have students trace a clef of their palm to help them envision the staff and identify "G."

I like to use visuals to help students relate their hands to the staff. Here are a few examples of things I've done: 

I post a hand silhouette that corresponds to existing staff lines on my whiteboard. If you don't have a staff-lined whiteboard, create a poster by tracing your hand and drawing staff lines that extend from finger tips. (The above picture is a bit distorted. The one below is better.) 


BTW, I have a ready-to-go printable Hand Staff Poster and Note Heads kit in my TPT store. The Rhythm Building Blocks in the above picture are also available in my store. 


I helped music teachers who attended one of my workshops make these gloves and flying notes. The gloves are inexpensive, stretchy knit ($1 per pair) and fit children's to adult's hands. We drew the staff lines on with a permanent marker and made the notes out of wood pieces (flat circles and sticks) purchased at a craft store. We then painted the wood black with acrylic paint. It was a quick, easy and useful project. Kids love these!


Finally, here is my 'Scissorhands' version of the hand staff. Yes, it's one of those crazy projects I envisioned and created late at night! I used a heavier fabric glove, five dowel pieces, black paint, needle and black thread, and a touch of glue. My students get a kick out of this one, but it's not nearly as practical as the glove pictured above. Thought I'd share it anyway and give you a glimpse into my strange teacher mind.  : )


Sunday, August 3, 2014

Music Room Poster Freebie


In celebration of the new school year, I have posted a new, FREE classroom poster (sample and link above) which coordinates with many of my other teaching materials (a couple of linked examples below). Wishing teachers everywhere the best school year yet! : )


Wednesday, July 30, 2014

Make a Lint Roller Maraca

Here's a quick and easy instrument-making project for summer camp or school. Anytime I'm throwing something away, I explore its recycling options; and turning a used item into a musical instrument is my favorite recycling option! The other day, as I used the last section of sticky-tape on a lint roller, I immediately imagined a maraca. The handle fit perfectly in my hand, and most of the work was already done. It only took about 20 minutes to complete this project.


Materials:

Plastic lint roller handle
1 pkg. of small glass
   beads (seed beads)
Small funnel
Glue (plastic cement)
Toothpick
Paper and markers
   (or scrapbook paper)


Instructions:
There is a small hole in the top center of the large end of the lint roller. You may need to make it a tiny bit larger, but keep it as small a possible. Using a funnel (or piece of paper wrapped into a cone), put the beads into the cylinder.

Break a tip off of the toothpick to serve as a plug. Then put a dab of glue over the filling hole, stick the toothpick tip into the hole, and put another tiny dab of glue over it.

Create a colorful, geometric design on a piece of paper cut to fit the cylinder section of the lint roller (or use some printed scrapbook paper as I did because I was in a hurry on this one). Glue the paper around and onto the cylinder.

Please note: the maraca will sound best if you hold it with the handle on top (upside down). This will allow the beads to move freely rather than get trapped in the handle. Cha-cha-cha!


Saturday, July 12, 2014

Water Pipe Trombone


Here's a quick and fun instrument project I shared recently at BYU Arts Express in my 'STEAM' session. 


When designing/engineering an instrument, always keep in mind that any musical instrument requires three mechanisms: 
                  (1) material or technique to produce VIBRATION, 
                  (2) material to act as an AMPLIFIER of sound waves, and 
                  (3) mechanism or technique to control or VARY PITCH.

Since the player's buzzing lips are the source of vibration, this ‘trombone’ only requires the pitch variation and amplification mechanisms, and thus, it's very easy to make. 

MATERIALS:
A length of cold water pipe (blue PEX, 1/2” diameter)
A length of hot water pipe (red PEX, 5/8” diameter)

A plastic funnel that will fit either over or inside one of your pipes 
    (The funnel can be trimmed to fit if its neck tapers.)
Stickers or colored tape for decorating (if desired)

TOOLS:
A ruler or measuring tape
A marker
A small hacksaw or sturdy knife for cutting
Duco Cement or other plastic cement for gluing funnel to pipe

PEX pipe is very easy and inexpensive to use. You will find it available at hardware and home improvement stores. I can cut it with small hacksaw (or even a sturdy paring knife), and its filings/dust doesn't have the respiratory dangers of PVC. 


Measure and mark each pipe, the blue, smaller one should be an inch or two longer than the red, larger one. For this instrument, I used 13.5 and 12.5 inch lengths. (Note: It's tempting to cut the pipes longer, but pitch control will be reduced by leaking air, and students' arms don't reach more than a couple of feet anyway.)


Determine whether your funnel will best fit inside or outside one of your pipes. You can trim the tapered neck of a funnel to fit your pipe. If you need to do so, ensure a snug fit by inserting your pipe into the open end of the funnel and marking where it makes contact with the neck.


Glue the funnel in place. Insert the wider diameter pipe over the smaller one. Decorate as desired. Press your lips against the end of your mouth pipe and slide the other pipe (with the funnel 'bell') in and out to vary pitch. Changing the speed and tension of your buzzing lips will also change the pitch.

                                                               Have Fun!