Pages

Wednesday, February 26, 2014

St. Patrick's Day Note-Spelling & Freebie

Just a quick update... I've uploaded several St. Patrick's Day-themed note-spelling sets in my store
(1)  33 treble spaces-only words/slides,
(2)  28 treble lines-only slides,
(3)  a combination set with a whopping 83 words, and
(4)  a set of printable or projectable note-spelling staff pages, icons and instructions for several activities with a magnetic whiteboard or as a floor game. (Pictures are hyperlinked to the products.)

Also, in appreciation to my followers, I'm including a printable or projectable staff page below (from the Treble Treasures set). Just click on the bottom image in this post to enlarge or print it. You can project this and use it on a whiteboard or print it and have students 'spell' various words using candies, magic coins (pennies) or math counters as notes and have fun! : )


Freebie Printable or Projectable - Click on this PNG file to enlarge or print.
Happy St. Patrick's Day. Thanks for stopping by!

How to Make a Bottle Guitar

If you follow my blog, you know by now that I enjoy making instruments out of found items just for the fun (and challenge) of it.  I also love to help students create instruments that actually make music.

Making a good chordophone (stringed instrument), not just a look-alike, can be a challenging project. Through trial and error, I've found a couple of easy ways to create playable, decent sounding string instruments that can produce a variety of pitches.

In making any instrument, there are three main components to consider: (1) a source of vibration, (2) a resonator or hollow cavity to amplify the sound, and (3) a device or technique for regulating/varying pitch. When creating a stringed instrument, suspending the string while supporting its tension presents a unique challenge. Having a strong fingerboard and solid hollow body are keys to success. In this post, I want to share my bottle guitar ideas with some basic guidelines for creating these. 

Materials:

     Fingerboard - part of a yardstick or a paint stick will do 
          (Mine had paint samples already on it for 'frets.')
     Plastic bottle
           (Shampoo and dish soap bottles are pictured.)
     Small pieces of wood or plastic for nut and bridge 
          (I used a small Lego for one of my bridges.)
     String - fishing line, wire, or rubber bands 
          (Pieces of old guitar or violin strings work great.) 
     Stickers or markers to decorate (optional)

Tools:

     Electric drill
     Exact-o knife or small pocket knife
     Small hack saw if your plastic is extra hard
     Needle-nose pliers if using metal string
     Glue (to hold nut or bridge in place)
     Please have an adult do any cutting and drilling.

Instructions:

(1) Decide how you will attach the string to the fingerboard. You can attach it at each end which will require holes at each end (as in the green guitar) or wrap it completely around the fingerboard and connect the ends on the back side of the stick. Drill holes if needed.

(2) Design a nut (a small piece of wood or plastic that will hold the string above the fingerboard) and attach it to the top end of the fingerboard. 

(3) Design a bridge (piece of wood or plastic about 1 cm or 1/3 inch high) to insert under the string and suspend it above the fingerboard. 

(4) Setting the bridge aside for later, tighten your string onto the fingerboard (as tight as possible).

(5) Create the body of your instrument by cutting a sound hole (and plucking space) in the front/face of your bottle. 

(6) Cut or drill notches in the bottom and neck of the bottle to snugly fit and support your fingerboard. (Please study pictures below.)

(7) Insert your fingerboard into the bottle neck and slightly through the slot in the bottom of your bottle.

(8) Insert the bridge under your string(s).

(9) Decorate and mark finger placement if desired.

(10) Pluck the string through the sound hole with your dominant hand, and press the string against the fingerboard with your other hand to change the pitch. Have fun!


More chordophones to come in my next post. Thanks for stopping by!


Thursday, February 6, 2014

Music Activities with a Valentines Theme

Happy Valentines Day (week), everyone! Here's a little freebie printable poster you might enjoy:


This is a PNG file, which you can simply click on and print.


After presenting a full-day workshop and attending (and absolutely enjoying) UMEA, I am a bit slow posting some Valentines ideas. But if you are as busy as I am, you might be looking for some last-minute ideas. 

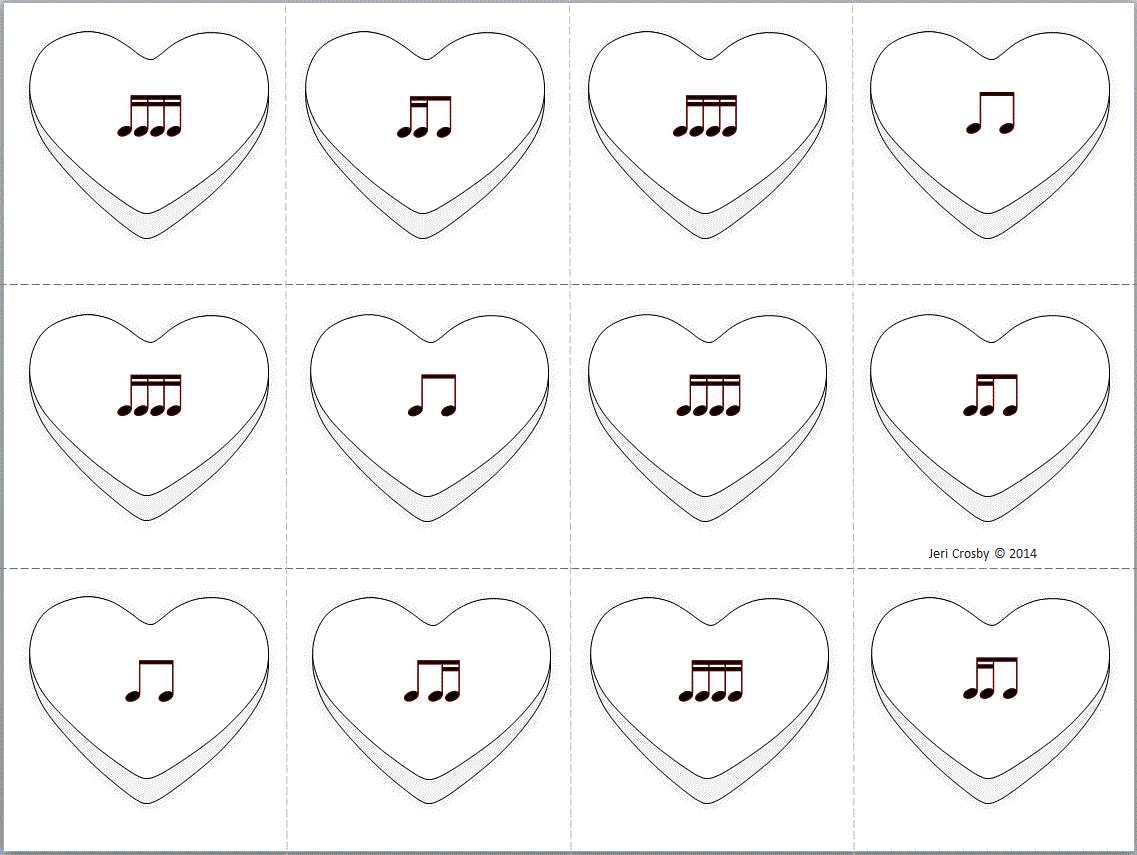
I have recently completed a few sets of Valentines activities: a note-spelling set with super cute Valentine graphics and two sets which use text-based rhythms from conversation heart candies. See samples of my layered ostinatos, composition cards, and measure mats below. I also composed a little poem to help students laugh at and feel comfortable working with the mushy text on candy hearts, which I will share below as a freebie.


Here's my poem / body percussion canon with instructions below:
(This is part of my "Love Notes with Candy Quotes" sets.) You can click on it to enlarge and project, print and/or save.


(1) Model by chanting the poem with an animated voice to a steady beat. (2) Have students pat the beat with 'spider legs' on thighs as you repeat it and match accented syllables to the beat.  (3) Add the actions/body percussion and practice. (Notes: actions are directly under the syllables they occur on. 'Open' is a silent gesture, as if opening a card. 'Brush' as if trying to get clean.) (4) Perform body percussion without audible text (but thinking the words and maintaining a steady beat).  (5) Divide the class into two groups and perform, beginning one stanza apart (as a round). If students are ready, perform this as a three- or four-part canon. Have fun! : )